

Backer Pad
No reviews yet
$54.95 – $69.95
-
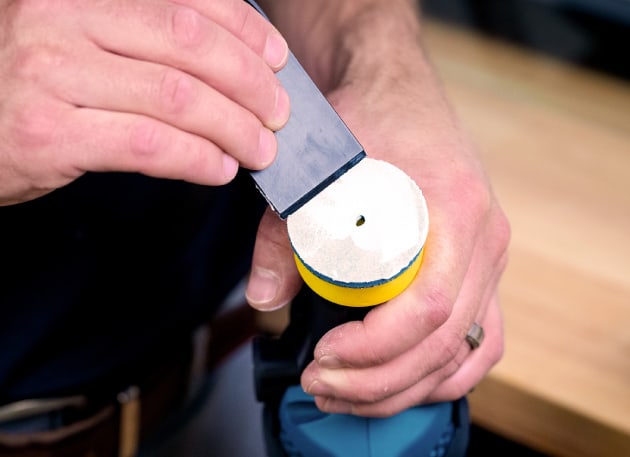
These aren’t just any backer pads. Featuring a center water feed hole and self-leveling flexibility, Gforce Backer Pads allow you to remove scratches quickly and easily using the Gforce scratch removal system.
Available in three sizes.
Gforce Backer Pads are designed specifically to work with all Gforce scratch removal systems. They are compatible with both Polishing Disks and Microforce Disks.
Water Feed Hole: All sizes include a center water feed hole. This allows for water to flow on-demand when using Gforce systems with a built-in water feed (including the Max). If your Gforce system does not have a built-in water feed, the center hole will not cause issues.
Self-leveling: Gforce Backer Pads are made of a thick, cushioned material that makes it easy to run the disk flat on the glass. This feature relieves fatigue and reduces the learning curve. With Gforce Backer Pads, even beginners can keep the disk flat on the glass.
Three Sizes Available
- 2-inch: Ideal for most damage
- 3-inch: Ideal for hard-to-reach areas, mirrors, and for removing clusters of scratches
- 5-inch: Ideal for resurfacing large damaged areas, including graffiti
Note: Photos shown are for illustration purposes only. Actual product may vary due to product enhancements and adjustments.
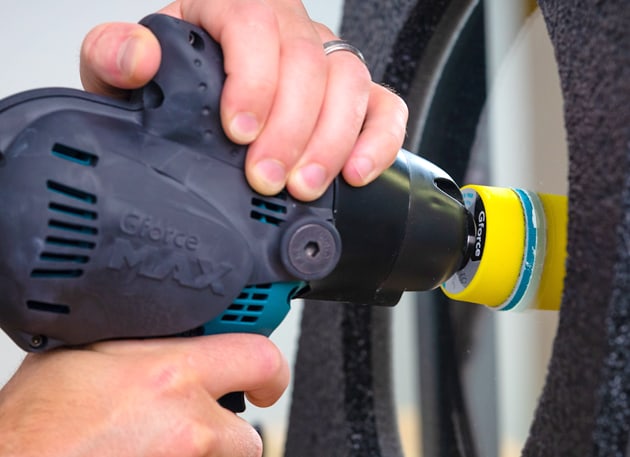
To use a Gforce Backer Pad, screw it into the nose of your Gforce tool. Hand-tighten it until it is secure.
Polishing Disks and Microforce Disks can attach directly to the hook-and-loop side of the Backer Pad.
How to Remove a Scratch
Step One
Apply Polishing Compound
Apply Polishing Compound to the Polishing Disk.
1/6
1/6
How to Remove a Scratch
Step Two
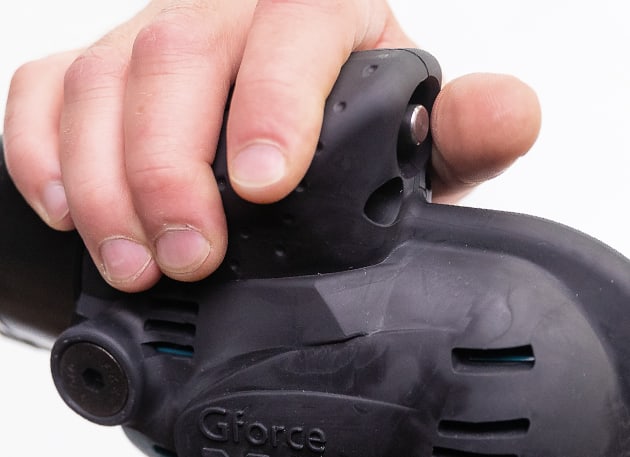
Press the Disk Against the Glass
While gripping the Max, press the disk flat against the glass on the scratch.
2/6
2/6
How to Remove a Scratch
Step Three
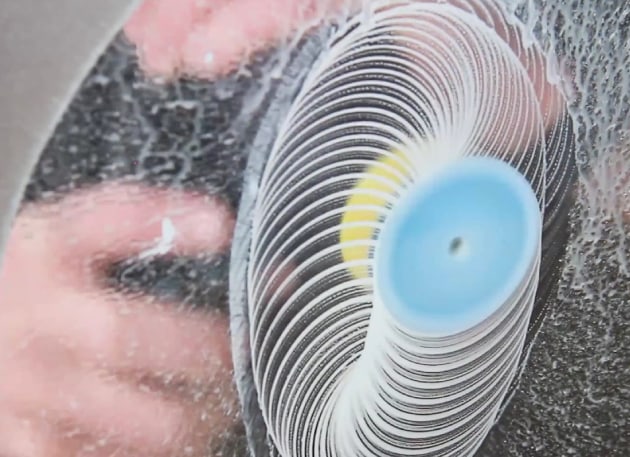
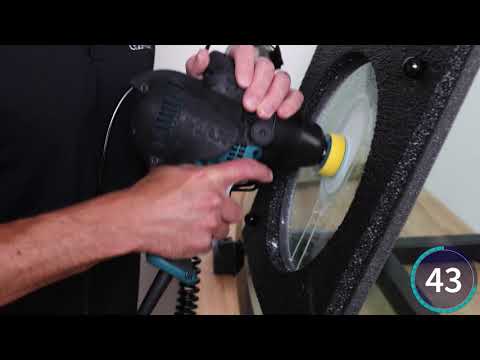
Run the Max
Using medium pressure, run the Max back and forth along the length of the scratch.
3/6
3/6
How to Remove a Scratch
Step Four
Add Water as Needed
Maintain a milky consistency on the glass by releasing water with the built-in water feed system.
4/6
4/6
How to Remove a Scratch
Step Five
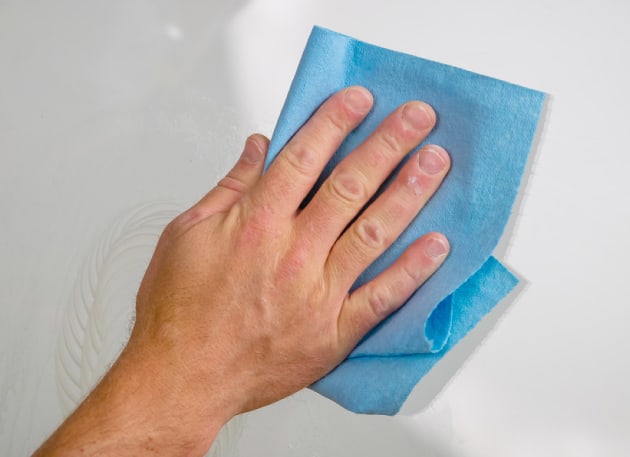
Clean the Glass
Once the scratch is removed, use water and paper towels to clean the glass.
5/6
5/6
How to Remove a Scratch
Max Demo
See It in Action
Most scratches can be removed in just minutes.
6/6
6/6
Products Used:
Private: Gforce Max Kit
Shop Now